Are you migrating to Apple Mail from Outlook for Mac and wondering how do I add OLM files to Apple Mail with ease? Continuously searching for a simple and easy method to implement the same? Not to worry anymore because in the segment we will come across a solution that will help you to add OLM files to Apple Mail by converting OLM to MBOX.
OLM is Outlook for Mac supported format that contains users’ emails, contacts, calendars, and other items. It is only acceptable by Outlook Mac and thus many Mac users face challenges when they move to another email client from the same.
Apple Mail is another widely used email client application. It is a default email platform and so most of the Mac users do not use any other email application. They simply configure their account in Apple Mail which is already present on the system and perform their daily tasks effectively. Unlike Outlook for Mac, the email client archives all the users emails in MBOX format. Therefore, many users face difficulties when they need to access the files of old email client into new one.
How do I Add OLM Files to Apple Mail?
The simplified process to add OLM files to Apple Mail is MacMister OLM to MBOX Converter Tool. It is a solution that allows users to securely load all the necessary OLM files on the tool and convert them into MBOX at once with accurate emails and attachments. The GUI of the application is also user-friendly which will make the process easier for professional and novice users. And besides MBOX, the tool also supports 15+ more saving options in which users can add their OLM files.
MacMister OLM to MBOX Converter offers numerous features that will help individuals in adding OLM files to Apple Mail according to their requirements. Also, a free demo version of the tool is available which will prove useful in evaluating and analyzing the working of the tool for free.
Working Steps to Add OLM Files to Apple Mail on Mac
Step 1. Download, install, and run Mac OLM Converter on the system.
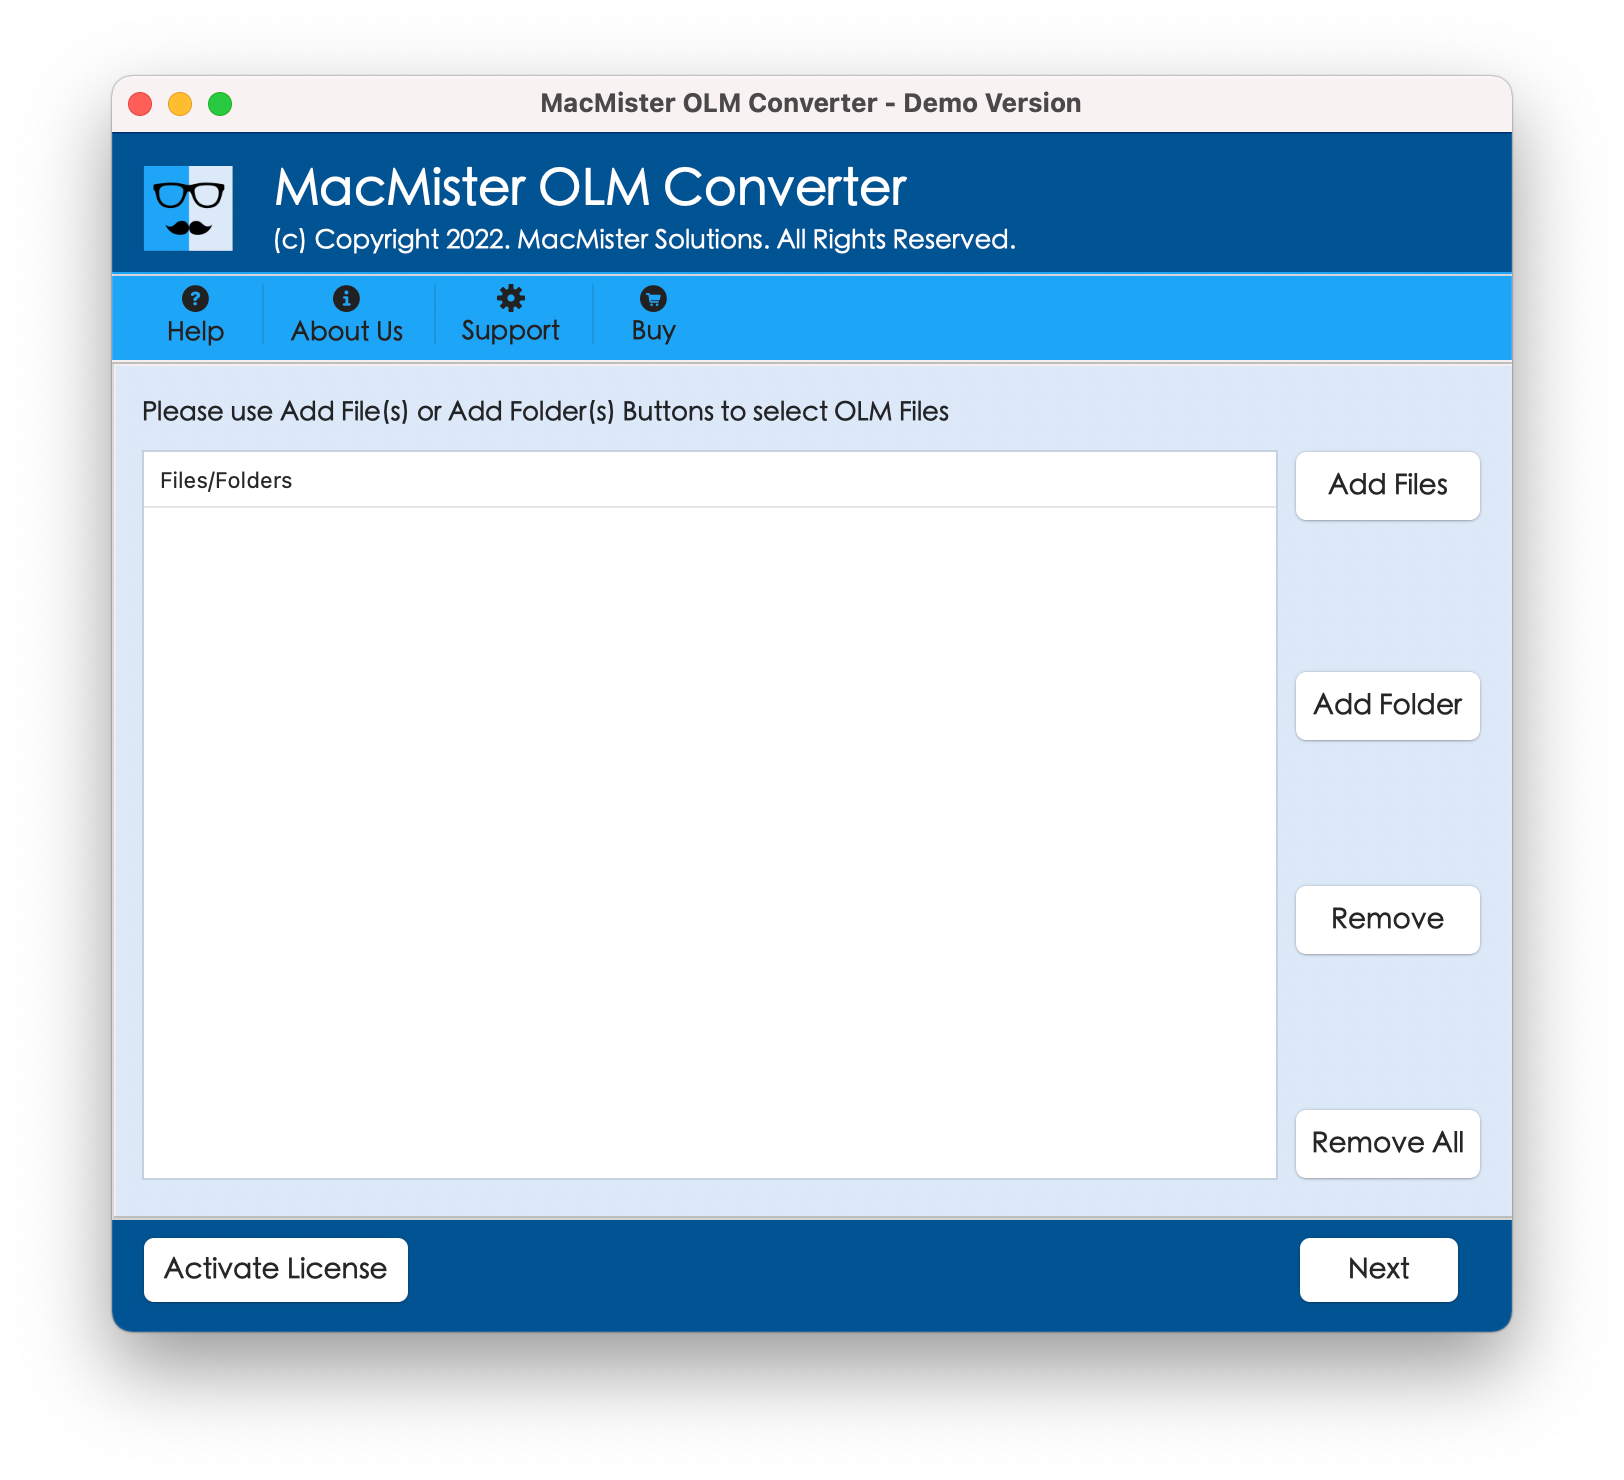
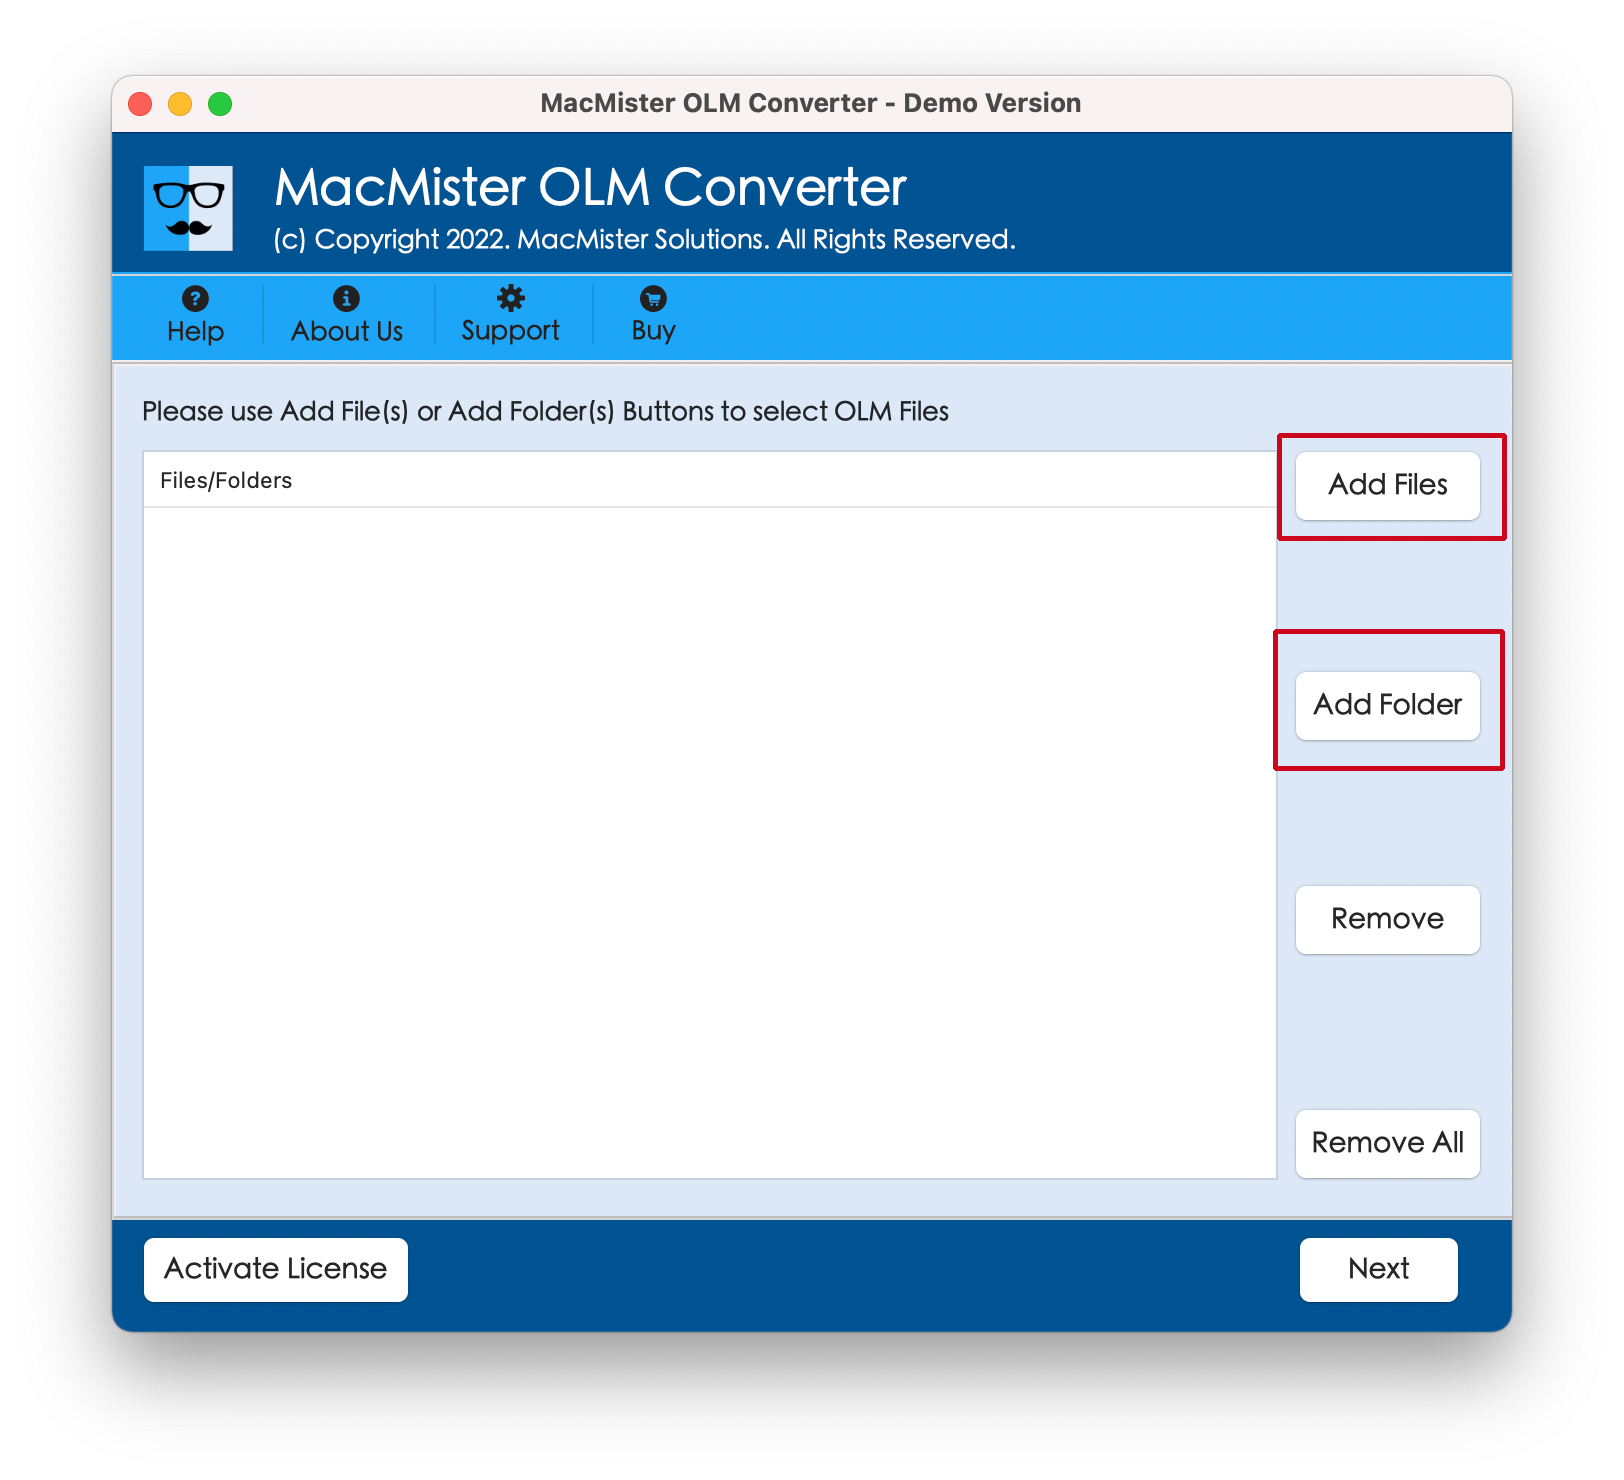
Step 2. Make use of Add File(s)/Add Folders options to add OLM files/folders on the tool for conversion. Click Next to proceed.
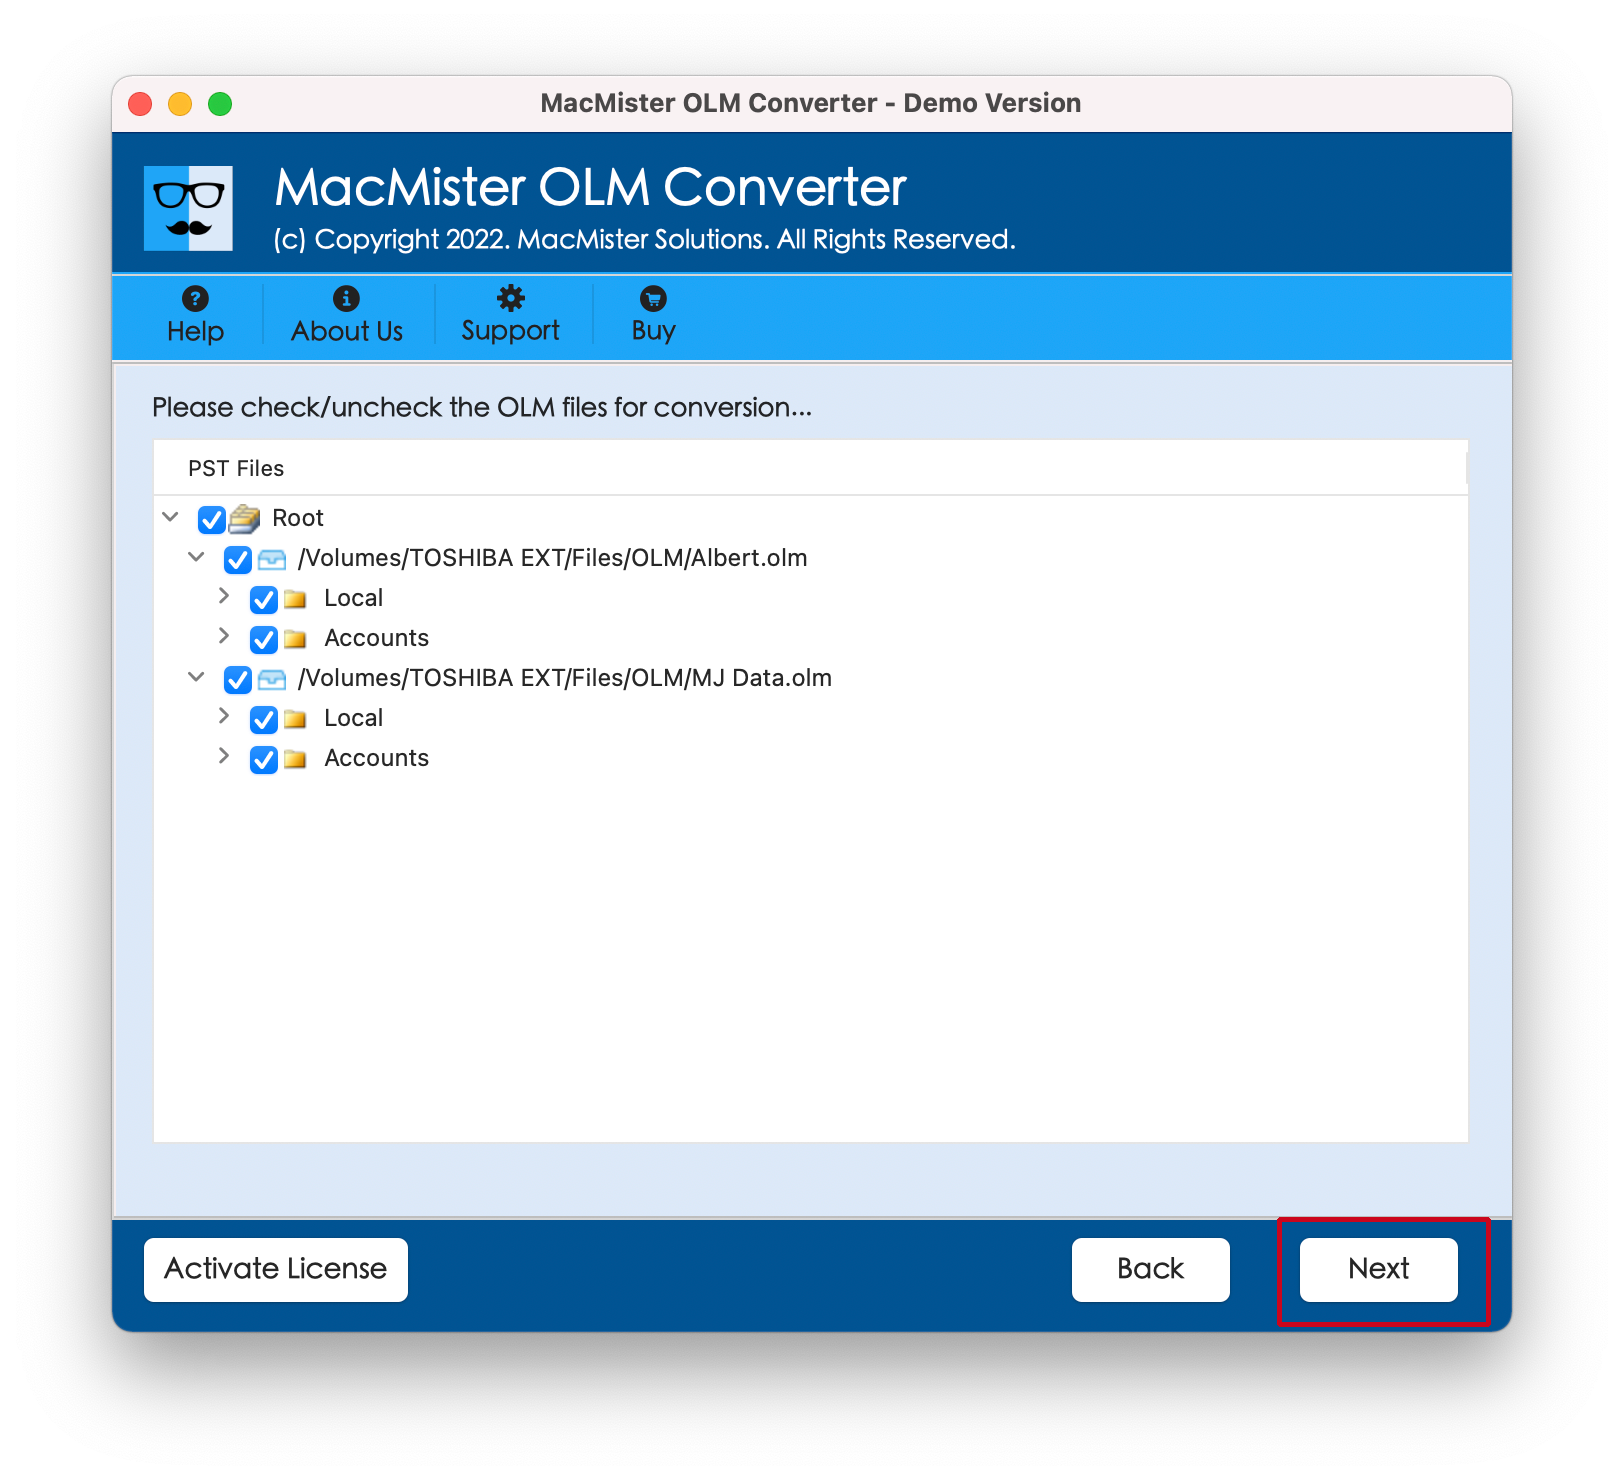
Step 3. The software will list OLM files with selected checkboxes on the tool. However, users can deselect the checkboxes and select them again according to the requirements to add selected OLM files to Apple Mail. Click Next to continue.
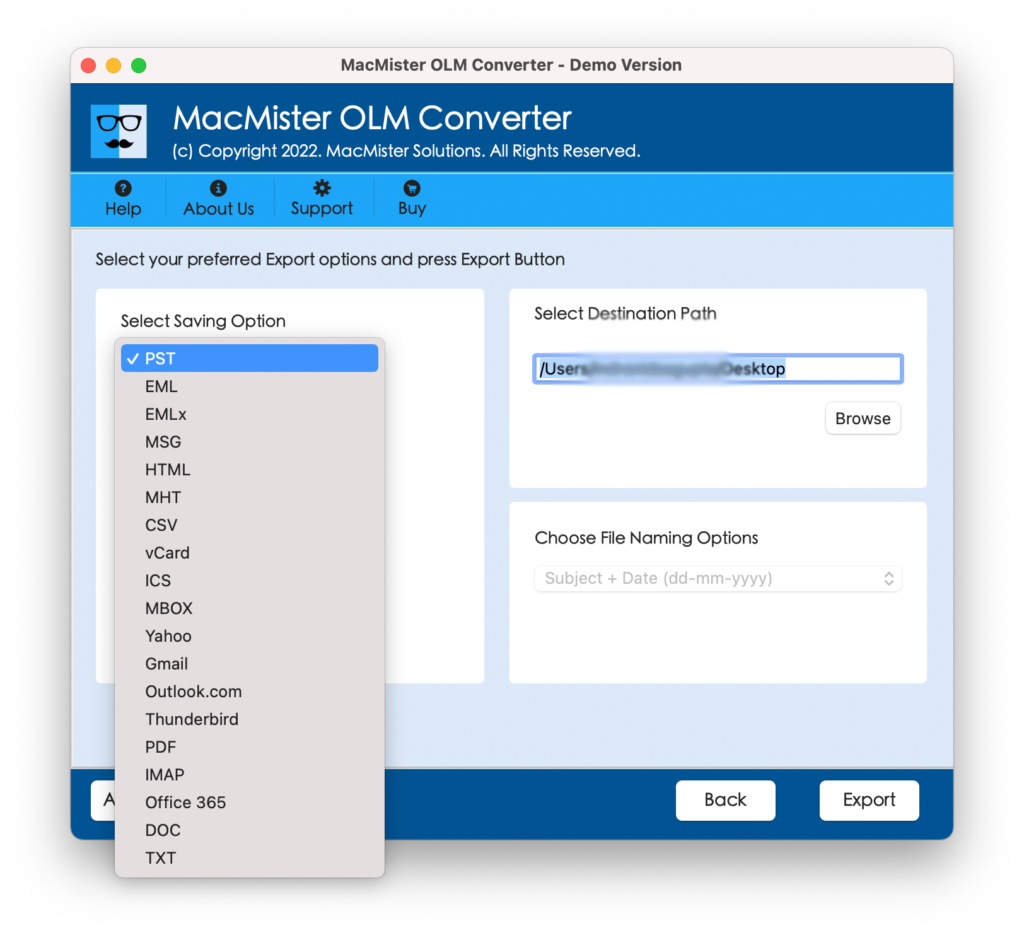
Step 4. Tap Select Saving Options and choose MBOX file format from the menu.
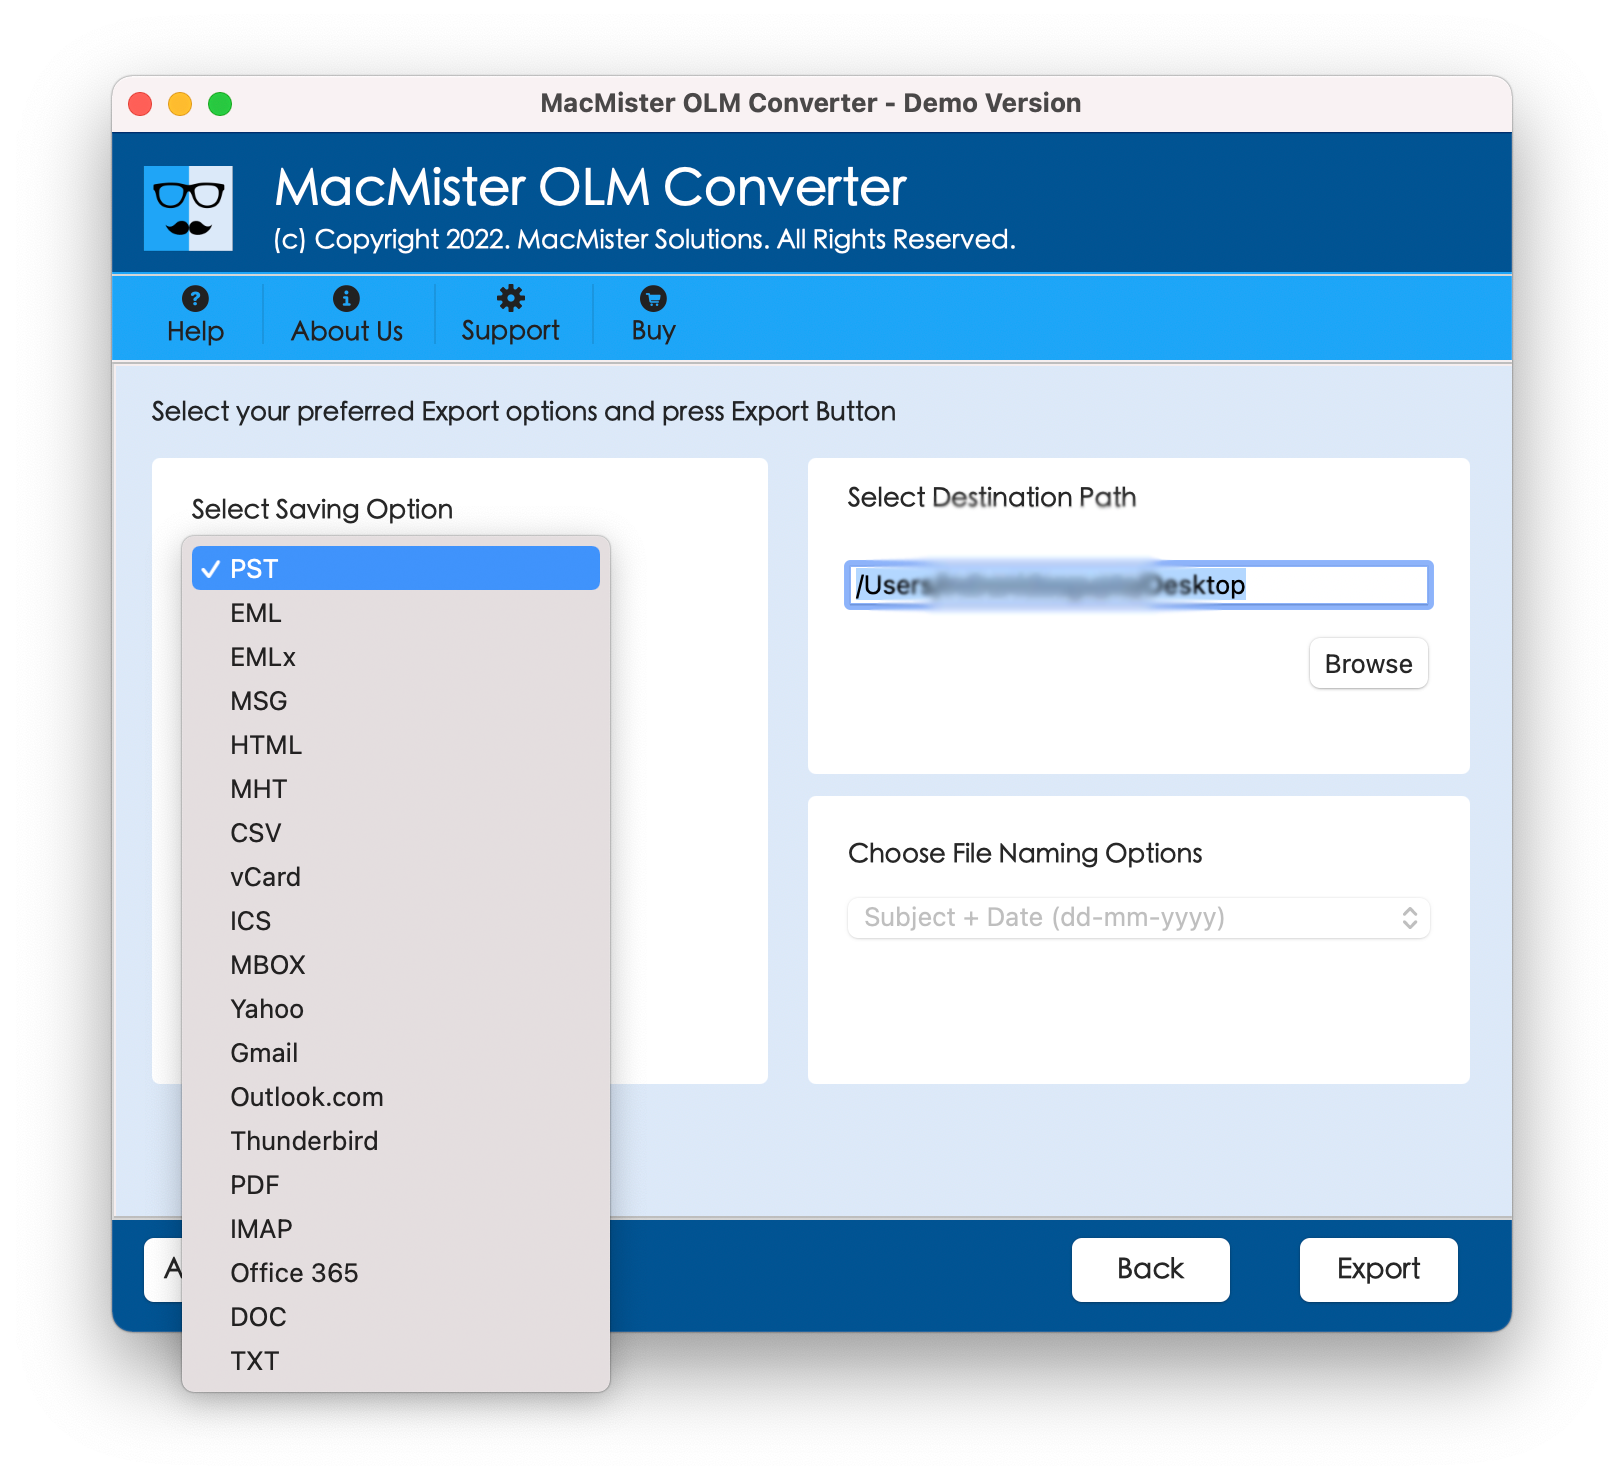
Step 5. Set the options of MBOX according to the necessities and click on the Export button.
Step 6. The Live Conversion Report will appear that allows tracking the current conversion status of OLM files.
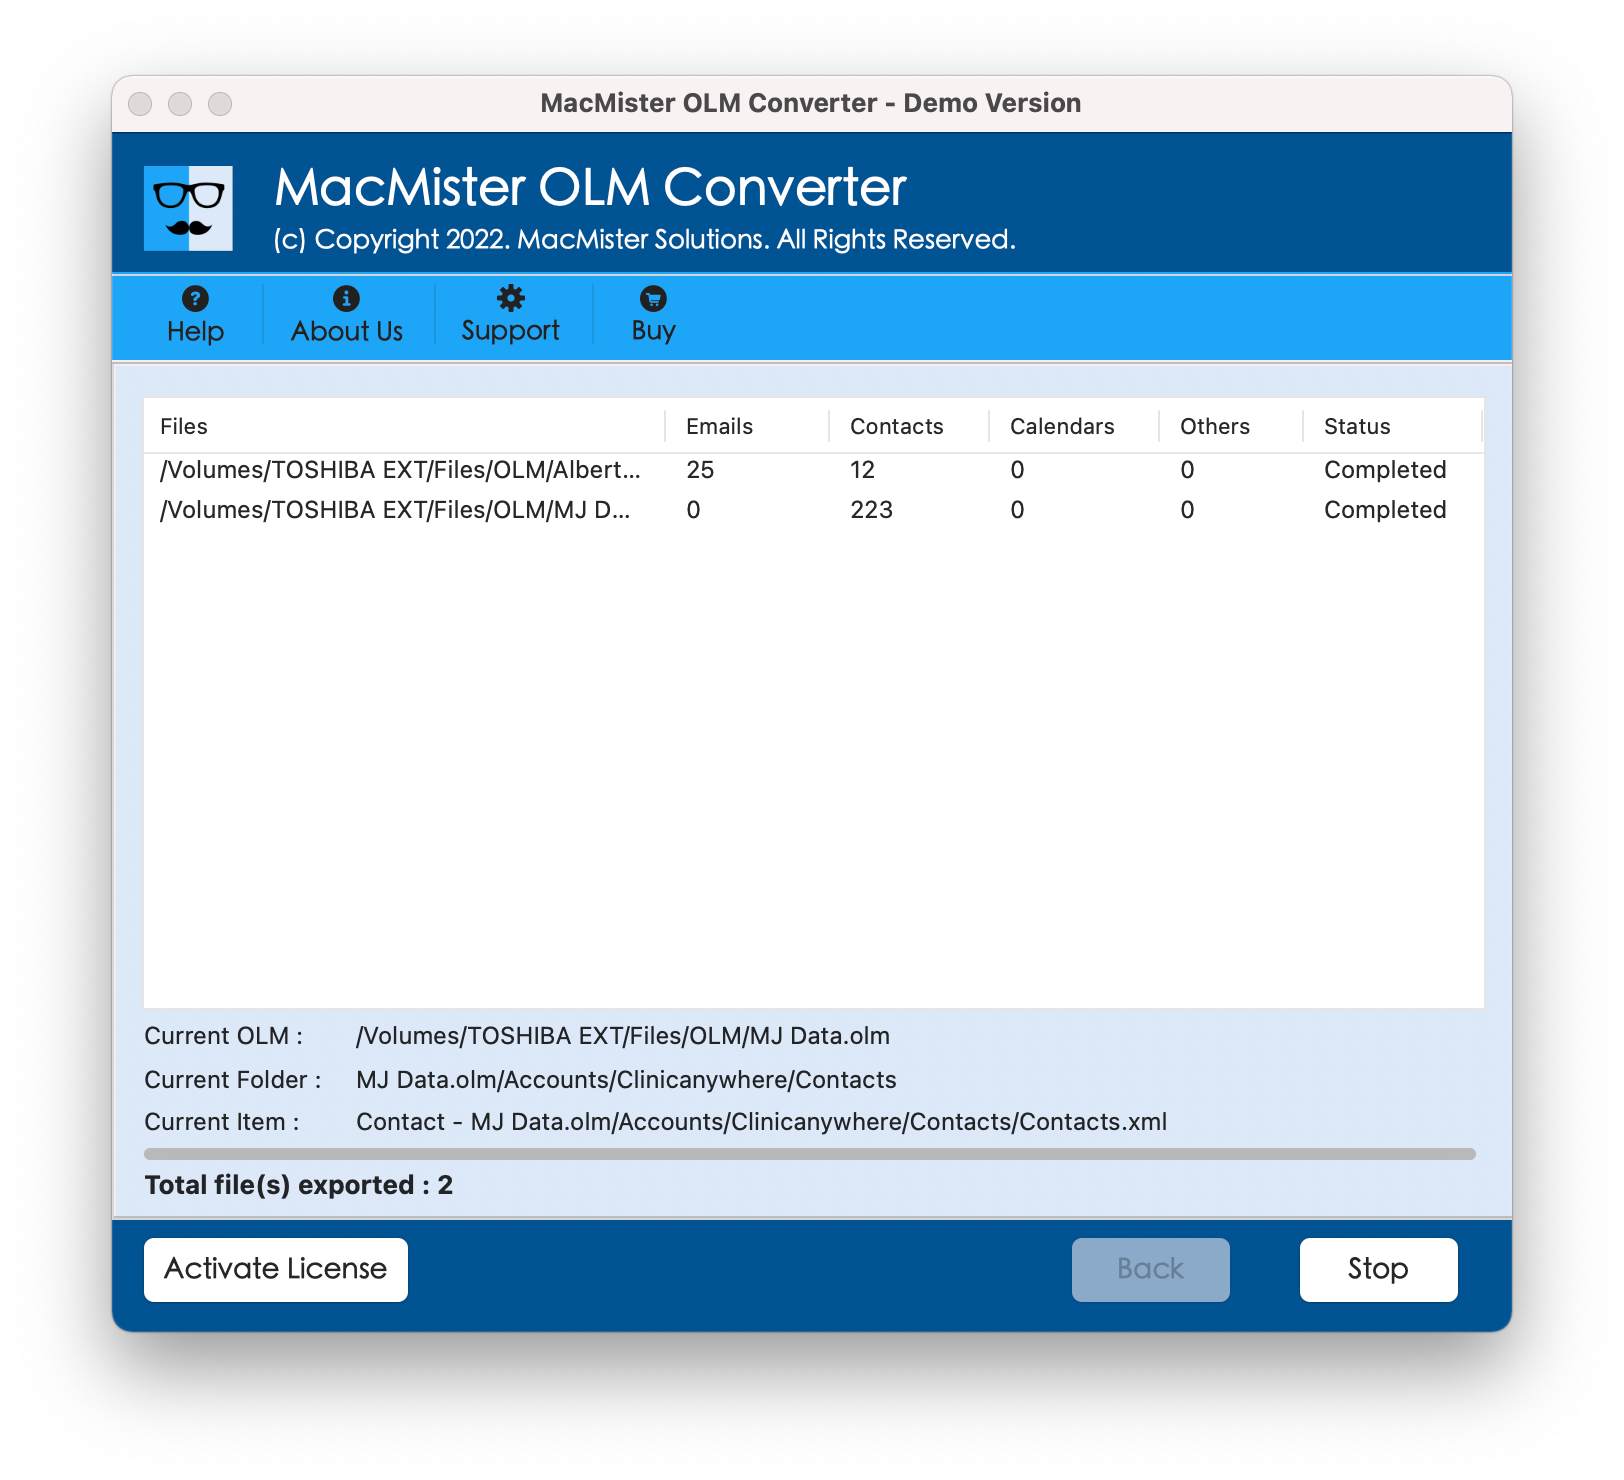
The process will end quickly with a message “Conversion Completed”. Click on the OK button and go to your Apple Mail account to import resultant files. Check the steps mentioned below –
- Open Apple Mail email account.
- Go to Tools and click on the Import Mailboxes… option.
- Go with the Files in MBOX Format option.
- Navigate to the required destination path to select MBOX files.
- View the live import process that will finish with the Done button.
Apple Mail will open the email account of a user and will show the imported files on the left pane under On My Mac. However, users can choose the required MBOX files to see if the tool has correctly converted the data or not. Although, the application will make no change in the original emails, layout, and formatting properties.
Conclusion
In the blog, we have discussed how to add OLM files to Apple Mail on Mac with accurate emails and attachments. MacMister OLM Converter for Mac is a must try solution as it smoothly loads OLM files on the tool and convert them immediately into MBOX with 100% accurate emails and attachments. The application is designed with unique features so that users can perform the process as per their needs. And to check the same, one can use the free demo version and convert first 25 OLM files to MBOX free of cost.